How To Adjust A Pressure Switch


Making sure each component within your system is operating correctly such as a pressure switch will ensure that your entire system remains safe and accurate. Depending on which product you have you will need either a flat-bladed screwdriver, an allen key or a security hex key. You can find more information on proper tools and power requirements on our website or in your product’s instruction bulletins.

You’ll need an accurate source of pressure or vacuum supply to confirm pressure. Depending on the type of switch, you’ll also need either a dial or analog, pressure or vacuum reference gauge to confirm pressure or vacuum applied. A power supply and a multimeter or lightbox will also be required to power the pressure switch and read the change in pressure setpoint.

We recommend using an appropriate dial gauge. Calibrated at 3 to 5 percent for full scale accuracy or better. Please refer to your product’s data sheet for product limits. Remember for all pressure switches with the exception of vacuum switches, turning the adjustment screw clockwise will increase the pressure setting and turning it counter-clockwise will decrease the pressure setting.

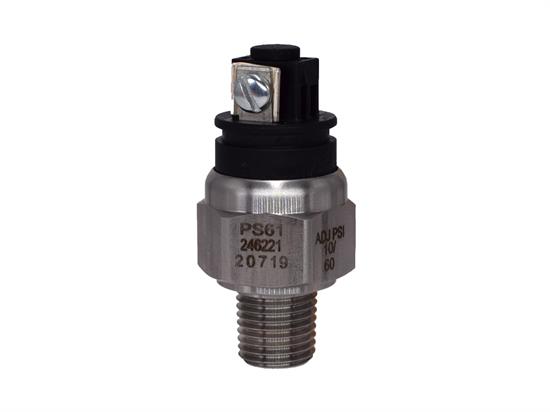
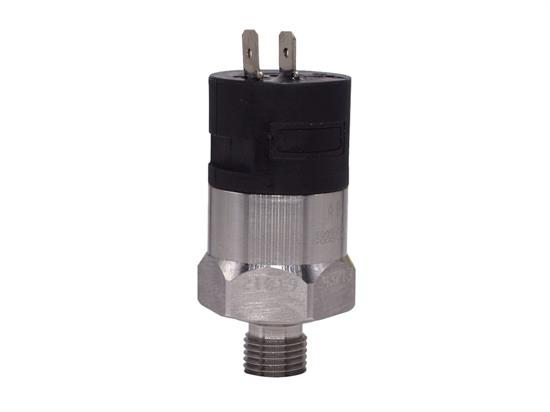
On a vacuum switch, the opposite will occur and the opposite applies. For example, on this Gems PS-61 series switch remove the black rubber cap, insert the hex key, and rotate it slightly in either direction until the hex engages. Increase the pressure applied to the switch while controlling the pressure via a pressure regulator and monitoring the pressure with a dial or an analog gauge. Remember to avoid damaging the product. Do not apply vacuum to Gems pressure switches.